
A Quick Dive Into Fresh 🍋
Briefly exploring the new full stack web framework Fresh "Built for speed, reliability, and simplicity"


Intro 🤔
Wait. Another new JavaScript web framework?? Okay we got that out of the way. Jokes aside, let's check out the new full stack framework built for Deno "Fresh". 🤙
What is Fresh?
Fresh, which was introduced at the end of June this year. It is built for Deno, by default sends 0 JS to the client, doesn't have a build step and as explained by the fresh team...
Fresh embraces the tried and true design of server side rendering and progressive enhancement on the client side.
- Just-in-time rendering on the edge.
- Island based client hydration for maximum interactivity.
- Zero runtime overhead: no JS is shipped to the client by default.
- No build step.
- No configuration necessary.
- TypeScript support out of the box.
Fresh Is Wicked Fast
Fresh also does not have a build step. The code you write is also directly the code that is run on the server, and the code that is executed on the client. Any necessary transpilation of TypeScript or JSX to plain JavaScript is done on the fly, just when it is needed. This allows for insanely fast iteration loops and very very fast deployments.
Sounds pretty cool right?
What will we be building to try it out?
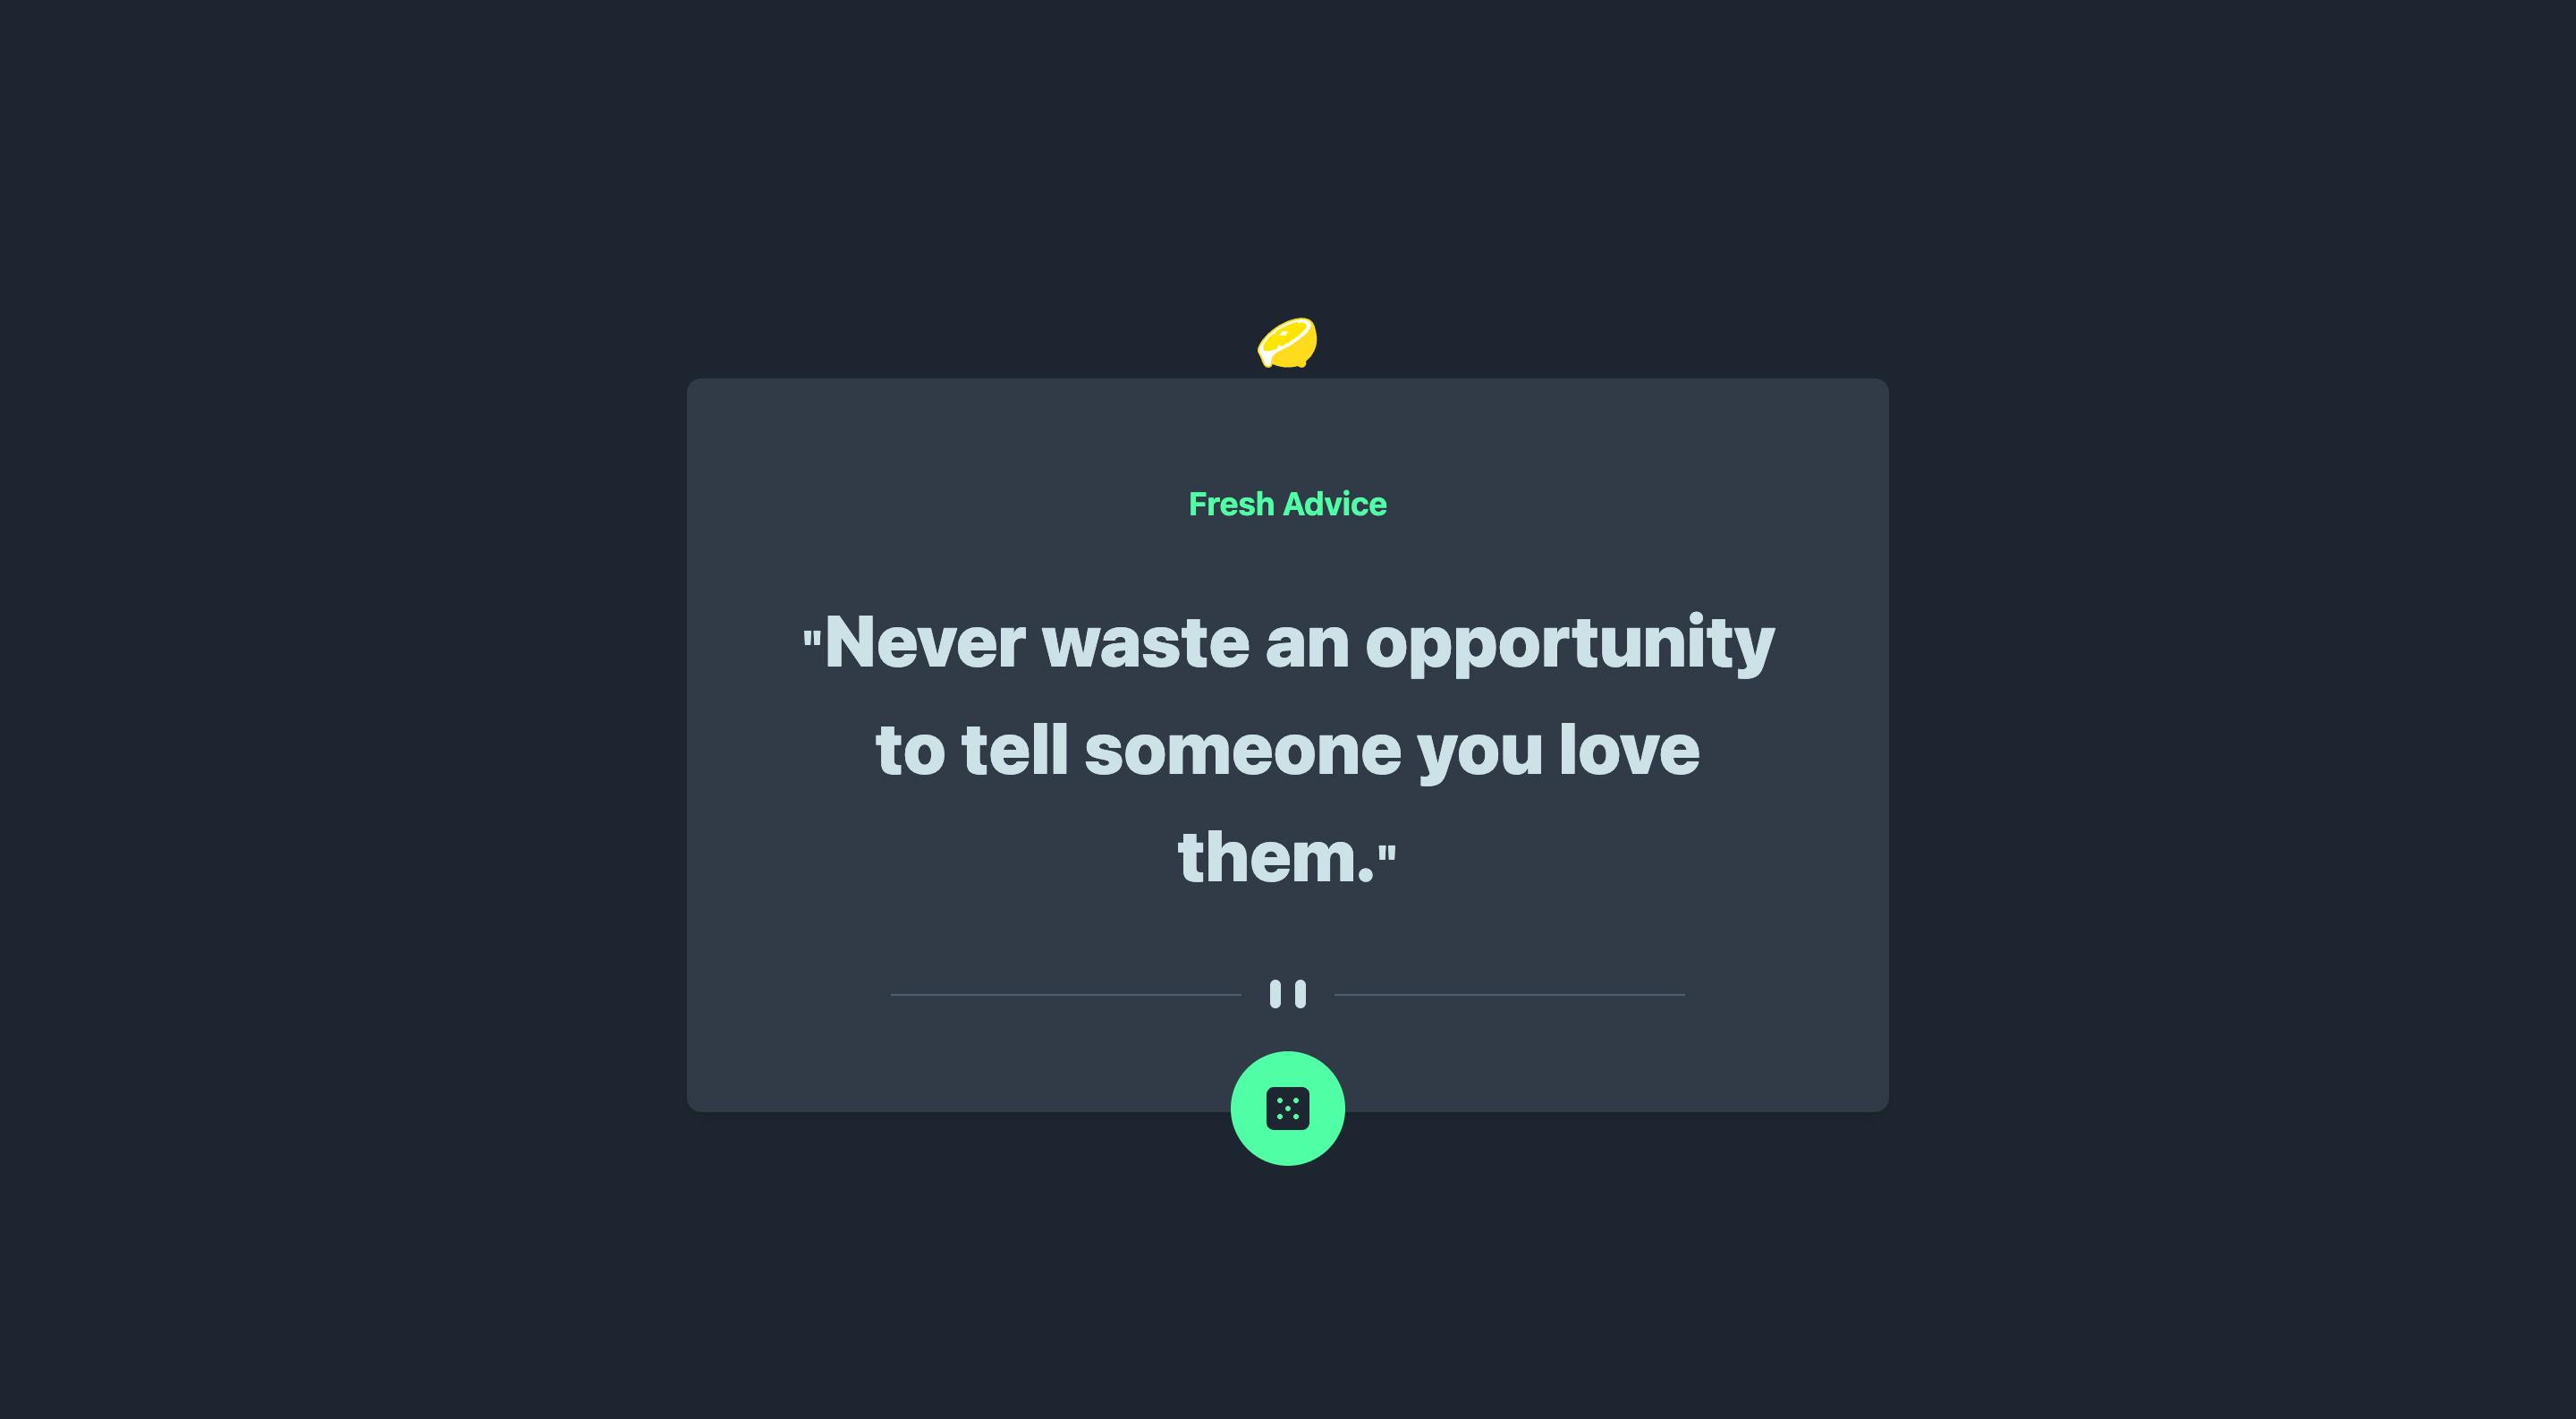
We will be building out the Frontend Mentor challenge here. Pretty simple application that will pull and display advice data from an API with each click of the die button.
1. Setting Up Our Environment 👷
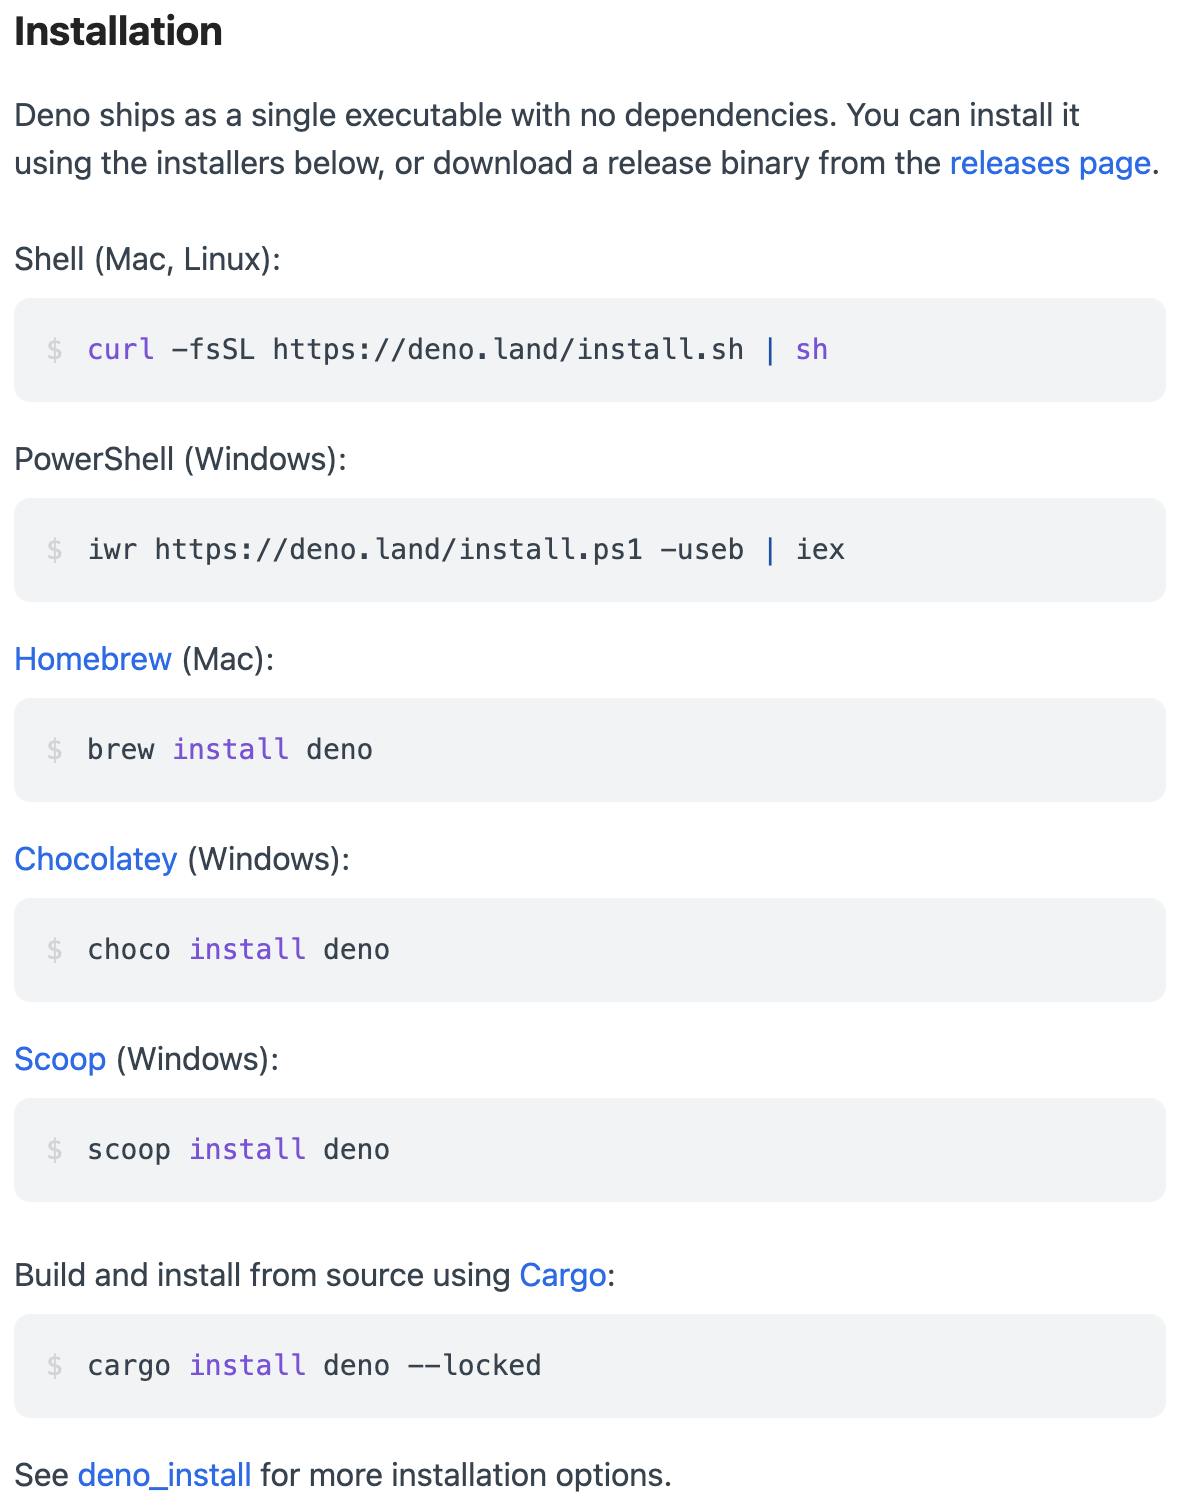
1.1 Install Deno CLI
We first need to install the Deno CLI if you don't already have it installed! Make sure you have the Deno CLI version 1.23.0 or higher installed.
install instructions here
or in your terminal 👇
1.2 Initialize Fresh Project
Then you can use the Fresh init script to bootstrap a new project:
deno run -A -r https://fresh.deno.dev my-project
Enter the newly created project directory and run the following command to start the development server:cd my-projectdeno task start
You can now open localhost:8000 in your browser to view the page.
2. Project Code 👨💻
The code itself is pretty straightforward. We'll be adding an AdviceCard component or "Island" as interactive components are called in Fresh. Importing that to our main page, which is the routes/index.tsx file, then adding a function that returns a component to allow us to add some fonts from Google Fonts. Let's jump in to the routes/index.tsx file first...
2.1 Main Page index.tsx
// routes/index.tsx
/** @jsx h */
import { h } from "preact";
import { tw } from "@twind";
import AdviceCard from '../islands/AdviceCard.tsx'

export const Head = () => (
  <head>
      <link rel="preconnect" href="https://fonts.googleapis.com"/>
      <link rel="preconnect" href="https://fonts.gstatic.com"/>
      <link href="https://fonts.googleapis.com/css2?family=Manrope:wght@200;300;400;500;600;700;800&display=swap" rel="stylesheet"/>
  </head>
);

export default function Home() {

  return (
    <div>
    <Head />
    <div
      class={tw`p-4 mx-auto flex flex-col justify-center items-center min-h-screen`}
      style={{backgroundColor: 'hsl(218, 23%, 16%)'}}
    >
      <img
        src="/logo.svg"
        height="250px"
        alt="the fresh logo: a sliced lemon dripping with juice"
      />
      <AdviceCard/>
    </div>
    </div>
  );
}
2.2 Adding Packages in Fresh/Deno
Unlike Node, we can't add packages to our project with npm install -packagName- instead we look on deno.landx?query= for the package we are requiring. In this case we want to use axios for fetching data. You can find that package and installation instructions here.
Essentially, all we need to do is...
import axiod from "https://deno.land/x/axiod/mod.ts";

axiod.get("https://api.adviceslip.com/advice").then((response) => {
  // response
});
and we're good to go! Let's get on to creating the advice card and fetching some data.
2.3 What are Islands in Fresh
Islands are different from all other components you create in a Fresh application because they are only rendered on the client and provide our application with client side interactivity.
All files created in the islands/ directory in a fresh project that are named with PascalCase and have a regular Preact component as a default export. All islands can be used in pages like a regular component and Fresh handles re-hydrating the island on the client side.
Although there are some limitations
- Props must be JSON serializable (meaning no children)
- Islands can not be nested within other Islands
2.4 Creating Our Interactive Island
Our last step will be creating the Island to display the advice data. We'll import and use the axiod package to preform a GET request within a useEffect with an empty dependency array to initially populate the advice card. Then we can also refresh the advice we are given by clicking a dice button.
AdviceCard Code below 👇
// islands/AdviceCard.tsx
/** @jsx h */
import { h } from "preact";
import { tw } from "@twind";
import {useState, useEffect} from 'preact/hooks';
import axiod from "https://deno.land/x/axiod/mod.ts";

const Quote = () => <span style={{fontSize: '28px', fontWeight: 700}}>"</span>

export default function AdviceCard() {
const [advice, setAdvice] = useState<any>(null);
const [loaded, setLoaded] = useState<boolean>(false);
const [hovered, setHovered] = useState<boolean>(false);

const getAdvice = () => {
  setLoaded(false);
  axiod.get('https://api.adviceslip.com/advice').then((data) => {
    setAdvice(data.data.slip.advice)
    console.log(data.data.slip.advice)
    setLoaded(true);
});
};

useEffect(() => {
getAdvice();
return () => {
    true
  }
}, [])

  return (

<div
  class={tw`w-2xl max-w-2xl rounded-lg shadow-md `}
  style={{backgroundColor: 'hsl(217, 19%, 24%)'}}
>
    <div
      class={tw`flex flex-col items-center p-10 pb-0 font-Manrope text-center`}
      style={{color: 'hsl(193, 38%, 86%)', fontSize: '2.5rem',}}
    >
      <div class={tw`p-4`}>
        <p
          class={tw`text-lg font-bold font-sans`}
          style={{color: 'hsl(150, 100%, 66%)'}}
        >
            Fresh Advice
        </p>
        </div>
        <div class={tw`p-4`}>
        {loaded
          ? <p style={{fontWeight: 800}}><Quote />{advice}<Quote /></p>
          : <p>loading...</p>
        }
        </div>
        <div class={tw`flex mt-10 space-x-3 lg:mt-6`}>
          <img
            src="/patternDivider.svg"
            height="100px"
            alt="a line with a quotation mark in the center"
          />
      </div>
        <div class={tw`flex space-x-3 mt-6 mb-[-30px]`}>
            <button
              onClick={getAdvice}
              onMouseEnter={() => setHovered(true)}
              onMouseLeave={() => setHovered(false)}
              class={tw`inline-flex items-center p-5 text-sm font-medium text-center text-white rounded-full`}
              style={
                hovered === true
                ? {boxShadow: `0 5px 50px 2px hsl(150, 100%, 66%)`, backgroundColor: 'hsl(150, 100%, 66%)'}
                : {backgroundColor: 'hsl(150, 100%, 66%)'}
              }
            >
              <img
                src="/iconDice.svg"
                height="100px"
                alt="Icon of a die"
              />
            </button>
        </div>
    </div>
</div>

  );
}
3. Deploying Our Project ⚡️
We'll deploy the demo site publicly using Deno-Deploy. Deno Deploy is a globally distributed edge runtime built by the Deno company. It's easy to Deno Deploy with use of the GitHub integration. Code only needs to be pushed to a repository on GitHub. If your code is on GitHub head to the Deno Deploy dashboard and create a new project.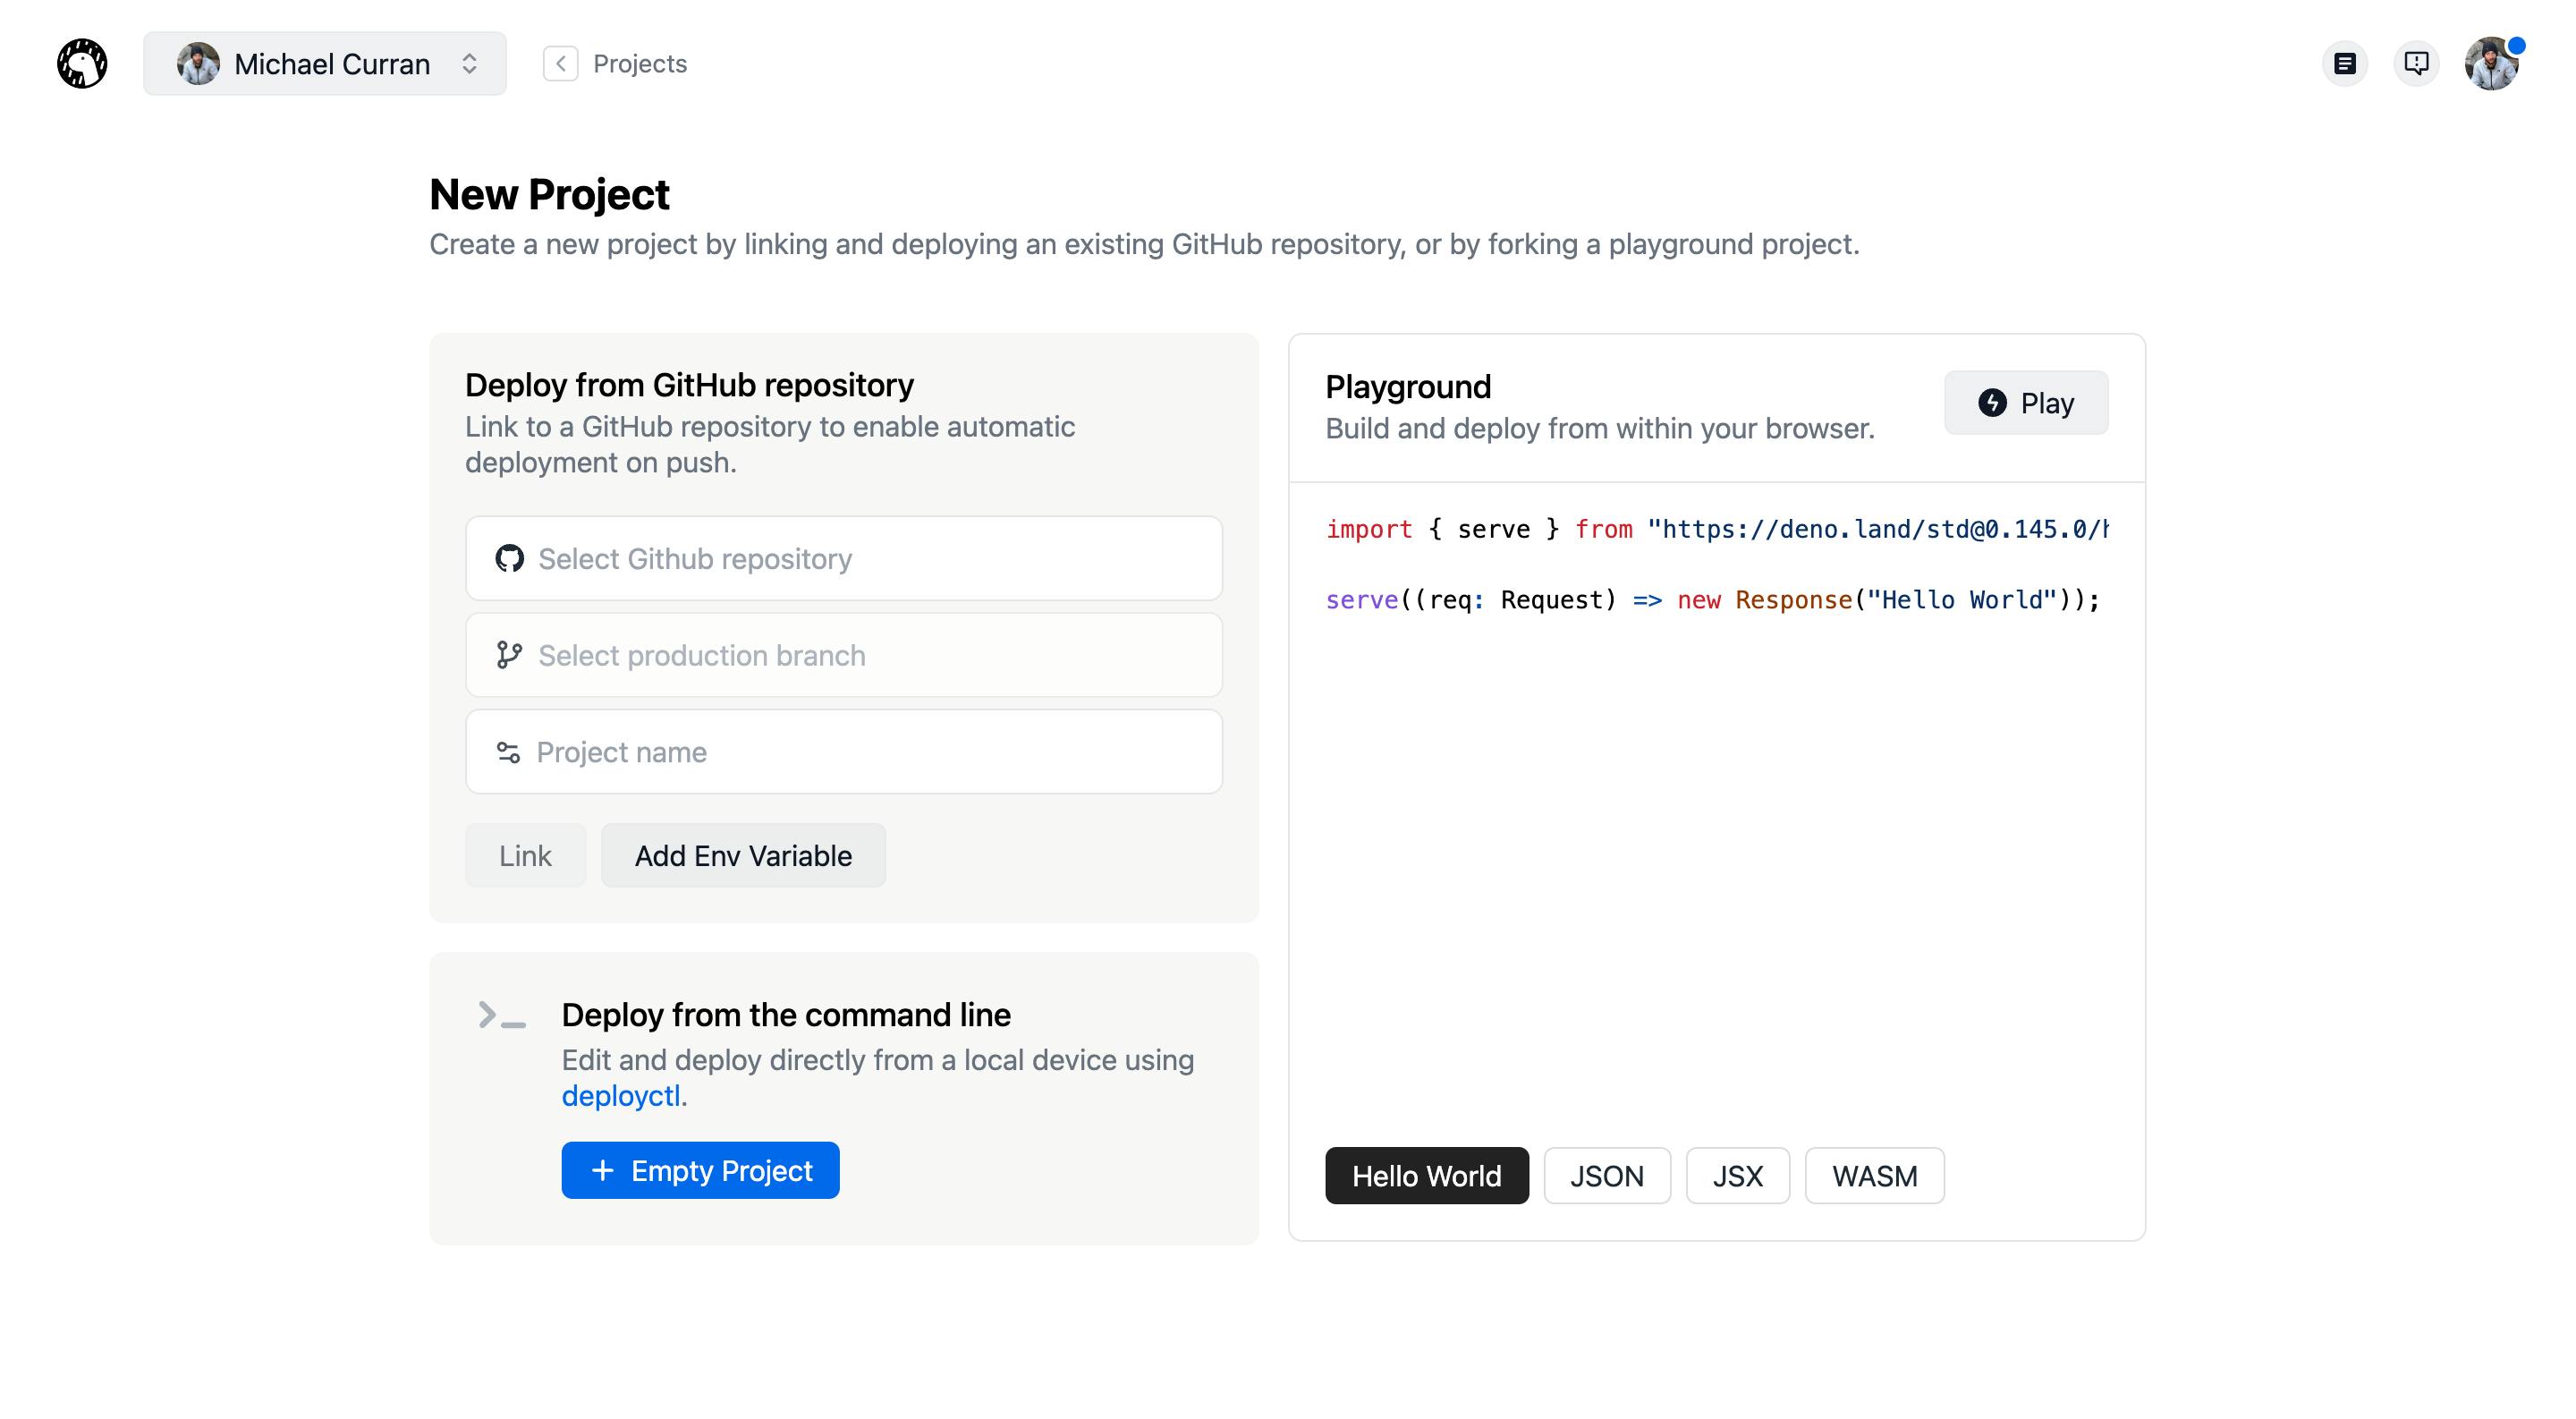
Once at this screen the rest should be self explanatory with a smooth public deploy. We just need to select the repo to deploy, add any environment variables and give the project a name.
Then, much like Vercel and Netlify, every time the code in the GitHub repository is updated, it will be deployed either as a preview or production deployment. Production deployments are only created for changes to the default/production branch.
Now watch that lightning fast build and deploy ⚡️
4. Closing 👋
That's it for this time!
If you want to view the code from this article you can view the repo here:
View the Code on GitHub
view the deployed site here:
View the Live Site
If you enjoyed this quick run down of Fresh, pass it along to someone you think might be interested and maybe give the blog a follow or come say hi on Twitter!
Other articles on the Hip Hip Array blog 📝
The Hip Hip Array newsletter 📰.
Thanks for reading! Hip Hip!